Sunday, October 6, 2013

Let's make Whoopie!

Whoopie pies, that is. :)  Sorry for the bait and switch, but I couldn't resist.

Today brings another new-to-me recipe to the blog.  My office is beginning this year's United Way fundraising tomorrow, and of course part of that is a bake sale.

I had bought this Wilton Whoopie Pie pan about 6 months ago because I have another recipe on my to-do list that uses this kind of pan - but I just haven't gotten around to it yet.

But when the bake sale came up, I thought about making Whoopie Pies.  I've had them before, but never made them myself.  So I was on the hunt for a recipe.  And let me tell you, there are LOADS of Whoopie Pie recipes out there.  So what did I do?  I used the Wilton recipe from the cover of this pan.  Yep, I did.  Here is the recipe: http://www.wilton.com/recipe/Whoopie-Pies

This is a picture of the first pan that came out of the oven - I cooked them for 10 minutes.  Waited 8 minutes for them to cool in the pan, then popped them out to cool on a rack.  Filled the pan again and threw it back in the oven for the rest of the pies.


The recipe made 24 individual pies - so 12 Whoopie Pies.  And the recipe for the filling was just enough to fill them all.
The pies look fluffy to the point where you'd think you would want more filling, but I think any more filling would put folks into a sugar coma.  I taste-tested one, so only 11 are making it to the office.  Maybe 10 - there are still a few hours before bed, LOL.

Now that I've broken this pan in, I look forward to trying other recipes for it.  Stay tuned!

Sunday, September 15, 2013

I'm baaack!

Whew!  You blink, and months go by.  I wonder how that happens??

Anyway, I'm back!  I fell off the resolution wagon a while back, but I'm still interested in trying new recipes, so this weekend, I've done THREE!  Yep, THREE!

First off - I've been eyeing this Zucchini Lasagna from Skinnytaste.com for a while now, and I finally decided that this weekend was the time to make it.  Although the only zucchini I could find at the grocery store were small.  I *knew* I should have gone to the farmer's market Saturday morning!  Oh well.  So, because I didn't have enough zucchini to do the 9x13 pan (and because I'm only one person, and that is a LOT of lasagna for one), I decided to make mine in an 8x8 pan.   And I still didn't have enough zucchini.  But it was good!  I will make it again, making sure to have enough zucchini, and I might even make the whole thing vegetarian next time too.

When I was at the grocery store on Saturday, I also spied canned pumpkin.   So on a whim, I picked it up, and thought I'd search for recipes when I got home.  And I found a couple that I wanted to try!  I wanted cookies.  We'd been talking at work on Friday about baking, and cookies stuck in my head.  So I was on the search for a pumpkin chocolate chip cookie, that wasn't "cakey".  The last time I made pumpkin cookies, they were good, but... "cakey".   And then I found these!  Pumpkin Chocolate Chip Cookies 

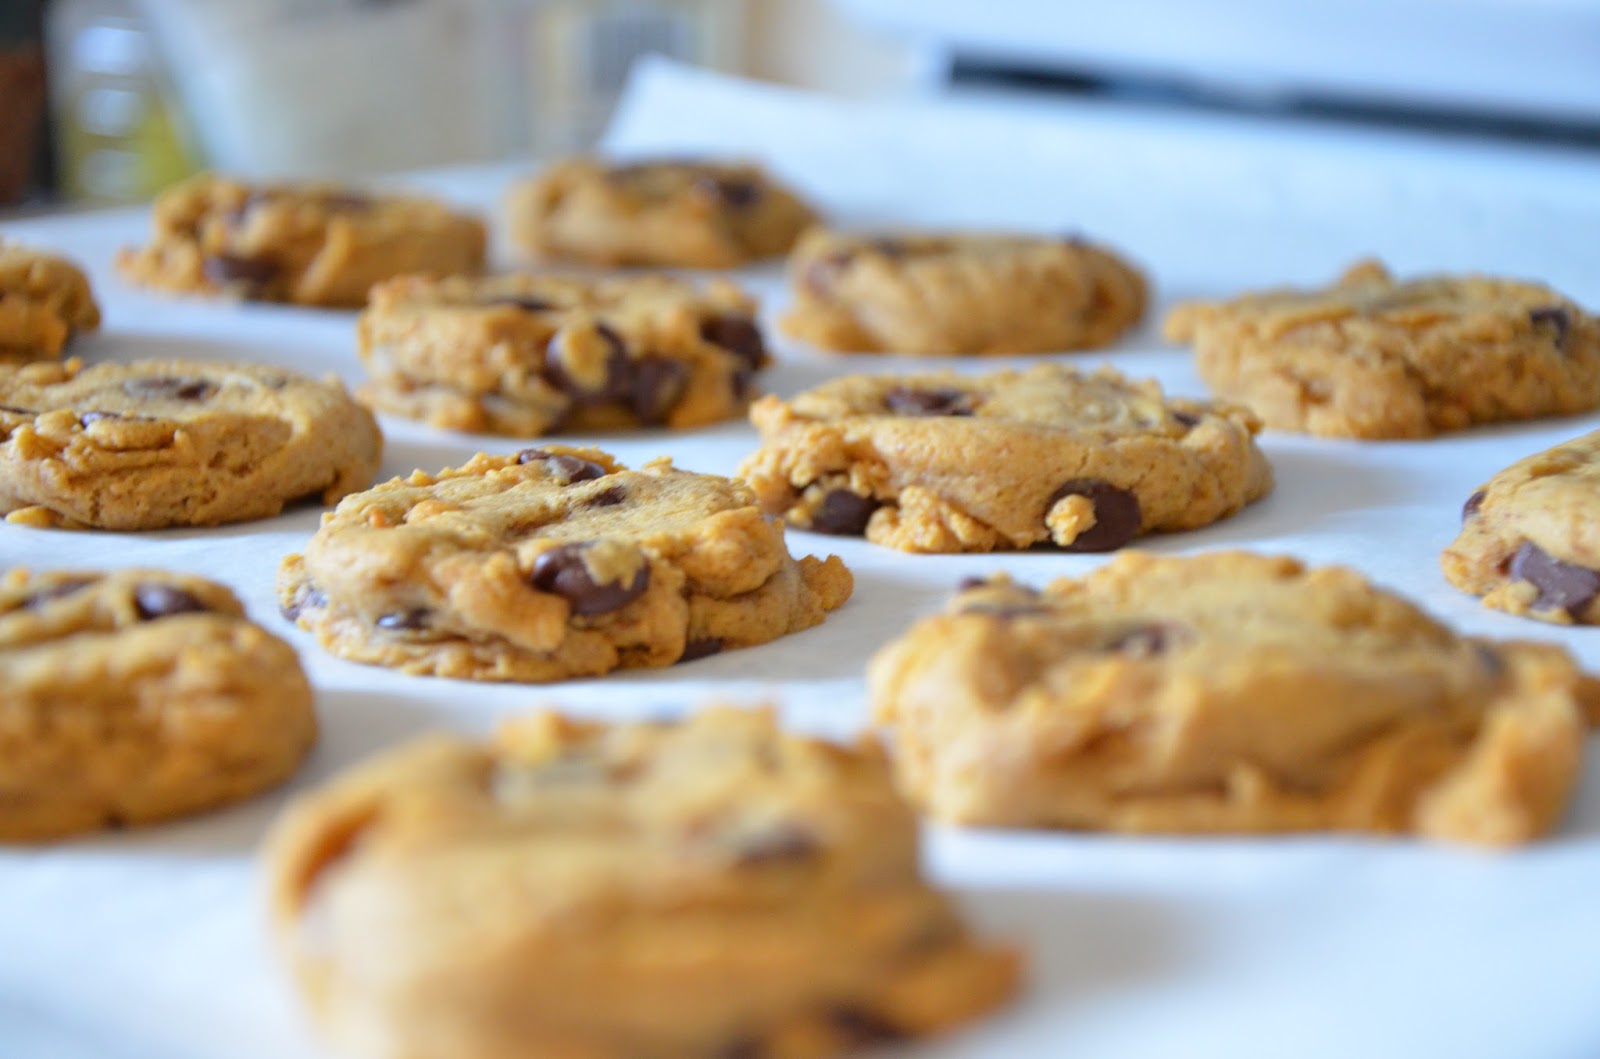
Mine look a little different than hers, but they taste good!

And well - they only took 6tbsp of the can of pumpkin, so what to do with the rest?  The cookie batter had to chill for at least 30 minutes, which meant I had time.... so I figured why not make something else, while all the baking stuff was already out?  So I also made the Mini Cinnamon Sugar Pumpkin Muffins from her site.

Let me tell you, her recipe was BANG ON.  I got 24 muffins - could have maaaybe squeeked out another one, but then that would have meant another pan?  Nuh-uh, not gonna happen.  And the melted butter and cinnamon sugar to roll them in?  Juuuust enough to get them all done!  And these are good too!  My co-workers are going to be happy tomorrow. :)

Both of the recipes are super easy to put together - I didn't use my stand mixer, and I *always* use that when I bake.  I would make both of these recipes again.  In fact, I may do that this week, since I still have pumpkin left....

Thanks for looking!

Monday, August 19, 2013

Crafty DIY - Distress Ink Holder, Thickers Holder

Hi everyone!

I had a few different projects floating around in my brain this weekend.  Let me tell you, my list was WAY too long for a weekend.  But I did manage to do two of them!  And both were for my scraproom.

I've been wanting a holder/stand for my Distress Inks for some time now.  But I was not about to pay $50 or so for one.  Which is kind of crazy, when you see how many inks I have and what they cost me (more on that later).

I saw a link online on how to make a stand that would spin: Spinning Distress Ink Holder  I loved the look of it and was going to do it, but when I thought about it - it wouldn't really be practical for my scrap space.  I don't use my inks all the time, so having it take up real estate on my desk would bug me.  My scrap room is in the basement, and I have a ledge on two of the walls, which is about a foot above my desk.  Having them on that ledge would be perfect - close and at hand, but not in my way.  And then I found this one: Distress Ink Holder  Now THAT is what will work for me!

I didn't like the idea of using just plain cardstock for the little boxes, it seemed like it would be flimsy.  And in the tutorial for the *other* holder, they use chipboard.  I didn't have chipboard on hand.  But I *did* have a large pack of watercolor paper sitting in my scrap room, and that is quite a bit thicker than regular cardstock.  So I was off to the races!

I followed her directions for the little squares, then kind of went off on my own a bit.  I used part of a shoe box for a base to make the stand a little sturdier (painted with Distress Crackle Paint).  Other than that, it's just watercolor paper.  And I wrapped the box with some Lost and Found paper by My Mind's Eye.  There are still some rough edges to work out (the width was a little bit wider than 12 inches, so I may need to wrap the edges in Washi tape or something).


It is surprising how sturdy it is!  And yes, there are 31 inks there.  Sigh.  I don't want to think how much $$ is in that tiny box, LOL.

Project # 2 this weekend was to corral my Thickers.  I admit it - I'm a Thicker-holic.  I love me some Thickers!  I was going to go to an office supply store and buy a wide magazine holder - then I remembered that the last time I was in that store, I looked, and they didn't have the wide ones in stock.   Then inspiration hit me!

I had a box of cereal from Costco sitting in my pantry.  OK, they were Mini-Wheats (you were wondering, right?).  I ran downstairs, grabbed a few packages of Thickers - and they fit GREAT!  So the second bag of cereal went back in my pantry just like that (it didn't need the box), and I cut down the cereal box a bit, added some more paper from My Mind's Eye, and voila!
And no, those aren't all my Thickers.  Not even close.  I may have to stock up on cereal, LOL.

But there you have it - two of my weekend projects that I've been wanting to do for quite some time now.

Monday, July 8, 2013

Turtle Cookies

I'm back!  I have another new-to-me recipe that I tried this week.  However, I wasn't very smart about it.  We've been in the middle of a heatwave the past few days, and what do I decide to make?  Cookies!  Yep, that have to be baked in the oven.  So. Not. Smart.

Anyway - as I mentioned in last week's post, my office has an annual fundraiser - the Craig Leech Memorial Fund - where the funds go to our local hospital.  The past few years, the funds have gone towards the Oncology department - we've bought iPads for those going through treatment to use; a new refrigerator, new  television for the lounge, etc.  Whatever would make the patients' time there just a little bit more bearable.

This year, funds raised will go towards the Pediatrics unit.  So every little bit helps!  We have many activities planned, including bake-sale goodies.  So I'm trying to contribute as best I can.

This week's new-to-me recipe is Turtle Cookies!  Again, I don't have pictures.  But the site where I found the recipe has some awesome pics: http://www.thekitchenismyplayground.com/2012/09/insanely-delicious-turtle-cookies.html

This pic is from Tracey's site (see the link above).  Now that I'm looking at it again, maybe I needed to use a larger spoon to make the indent, in order to make more room for caramel.  Oh well.


I have to say, I love me some Turtles, so I was really looking forward to tasting these cookies.  But honestly?  My reaction was "meh".  I enjoyed eating the leftover caramel sauce (yum!) more than I enjoyed eating the cookie.  So I will likely not make these again.  They were ok, just not really worth the effort (and added heat in my kitchen!) that it took to make them.

Oh well, the recipes can't ALL be winners, right?
See you next time!

Wednesday, July 3, 2013

Time Flies

Wow, I can't believe how quickly the weeks have gone by lately.  But I've come to the realization that my resolution for 2013 (try at least one new-to-me recipe a week)  will not be completed fully.  Life got in the way - tearing down and rebuilding my deck, my best friend's wedding, transitioning into a new (somewhat stressful) role at work.  It seems like I blinked, and another month has gone by.  But that doesn't mean I'm going to stop trying new recipes, though - I'm enjoying it too much to stop!

I was away this past weekend for my best friend Lisa's wedding (congrats, Lisa and Steve!), so I didn't get groceries last week.  I came back home on Sunday, but it was after 5pm when I realized I should have gone to the store since Monday (July 1) was Canada Day.  So my cupboards and fridge were looking a little bare.

As luck would have it, I was invited to a BBQ for Canada Day.  But what to bring??  With my limited supply of items in the house?  AHA!  I had bookmarked these Meltaway Lemon Cookies a while back - and I had the staples in the house, and a couple of lemons.  Score!

The recipe was created by Jessica at http://www.thenovicechefblog.com/.  This is the link to her post on the cookies: http://www.thenovicechefblog.com/2013/04/meltaway-lemon-cookies/   There is another link on that post to take you to the actual recipe - that link is http://www.dixiecrystals.com/recipes/desserts/cookies-bars/Meltaway-Lemon-Cookies

This picture is from Jessica's site:
Meltaway Lemon Cookies from thenovicechefblog.com

Oh. My. Gosh.  These cookies are FANTASTIC!  We served them up for dessert at the BBQ, and they were a hit.  One of the guys started getting everyone to flip the cookie over and eat them upside down - you seem to get a bigger hit of lemon that way with the icing hitting your tongue first.    I'm told he was a little upset when I left and took the remainder home with me, LOL.

Sorry I don't have any pictures of my own - I wasn't thinking about my camera at all when I was making these. Jessica's pictures say it all though.  And mine turned out like hers, except I didn't add the lemon zest/sprinkles on top.  These cookies were so simple to make, I made ANOTHER batch last night, and brought them in to the office this morning.  Again, a hit.   These will definitely be part of my go-to cookie list - thank you, Jessica!!!

Sunday, June 9, 2013

Brown Sugar Chicken

Hi everyone!
I've been on a major red-meat kick lately (I loooove steak!).  But I've been reading the book "Eat Right 4 Your Type" - and according to that book, red meat is a no-no for my blood type. *sob*  I know that TOO much red meat is not good, but... cutting it out is going to be a hard one for me.

So I thought I would find a new-to-me chicken recipe this week, and see how that goes.

Brown Sugar Chicken.  I know, sounds weird, right?  But I read the reviews, and a huge percentage of them were positive.  And the only thing I needed to get was chicken, and a new bottle of soy sauce because I ran out of it.  So I picked that up yesterday.  Oh - this is where I got the recipe!  http://crockpot365.blogspot.ca/2008/08/crockpot-brown-sugar-chicken-recipe.html

These are my ingredients:


I didn't use all of the chicken.  In fact, I only used two chicken breasts, cut up into large chunks.  The other 3 breasts are in the freezer for another day.  I made the sauce as per the recipe (but added a touch more vinegar than called for because that 1 cup of brown sugar had me doubting the recipe).  I left my chicken in the crockpot for 7 hours on low, made some carrots and broccoli, and heated up some leftover long-grain rice, and this was my supper:


The verdict:  it was good.  Kind of sweet-and-sour'ish (although the extra vinegar pushed it slightly more to the sour side).  I enjoyed the veggies and rice with the broth, and the chicken was tasty as well.  This will be my lunch tomorrow at work.  Anything left over after that will go in the freezer for a future fast meal.

I would make this again!

Monday, June 3, 2013

Beans, beans, the musical fruit....

Hi everyone!

I bet you couldn't help yourself but finish off the title, right? LOL.

I'm behind again on my new-to-me recipe resolution.  But that's ok, I'm not stressing about it.  I'm still doing it, though - and we're in June now!  Yay for me!

This week's recipe comes courtesy of my friend's cousin's wife's Mom.  Got that? ;)  I do not like baked beans.  Categorically do NOT like baked beans.  Never have.  Anyway, I went to my friend's wedding shower on the long weekend in May.  Her cousin's wife hosted it (see where I'm going with this?).  Karen (the cousin's wife) put on a FEAST for us.  And the first dish that she served (yes, it was a sit-down meal at this shower.  Totally blew me away!) was these beans.  I thought it was chili, so I took a big spoonful.  Thought it didn't have much kick for a chili.  Took another spoonful, still thought it was kind of different tasting for chili.  Then it hit me - I was eating BAKED BEANS!  That had hamburger in it!?  And.... I liked it?  Will wonders never cease!

Here is a photo of the ingredients:


And now you can understand why I first thought it was chili, right?

Here is the recipe that I got from Karen.  It's from her Mom.

1/2 lb hamburger
1/2 lb chopped bacon
1 chopped onion
1/3 cup brown sugar
1/3 cup white sugar
1/4 cup ketchup
1/4 cup barbecue sauce
2 tbsp prepared (yellow) mustard
2 tbsp molasses
1 tsp chili powder
1 tsp salt
1 tsp pepper
1-14oz can kidney beans
1-14oz can Pork & Beans
1-14oz can lima beans

Brown hamburger, bacon and onion in a pan.  Add the rest of the ingredients (not the cans of beans yet though).  Mix well.  Place in a roaster.

Do NOT drain the beans.

Add the cans of beans (with liquid) to the roaster with the rest of the ingredients.  Mix well.
Bake for 1 hour at 350 degrees, covered.

Verdict:  I still liked it!  I had it for supper last night, and brought it to work today for lunch.  I think I like this one because of the hamburger, and the lima beans.  It's not just "mush", which is what I associate baked beans to.  The lima beans and kidney beans help to give it some texture.

I think this recipe is a keeper.  Thanks to Karen's Mom!